| 3. Remove bearing.
4. Pack bearings with the lubricant called out in the Lubrication Section of this
manual.
5. Install bearing.
6. Turn slotted nut on spindle hand-tight, test-spin wheel to align
bearings, then back nut off to nearest slot.
7. Insert new cotter pin and press on hub cap.
FUEL TANK - Fill with clean fresh gasoline of regular grade. (For cold weather operation use winter blend
gasoline.) DO NOT MIX OIL WITH GASOLINE.
Check to see that vent hole in fuel tank cap is not
plugged.
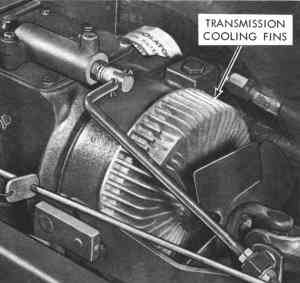
GENERATOR - Keep terminals tight and clean. Check belt for wear. Replace if badly
worn.
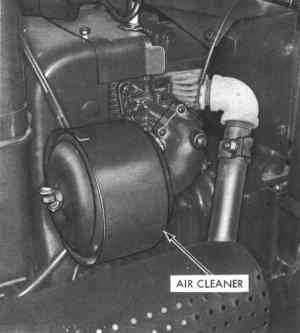
AIR CLEANER - See Engine Manufacturer's
Manual.
BATTERY - Keep cables and terminals clean and apply a light coat of vasoline or oil for protection. Check battery bracket for corrosion and keep clean. Do not over-tighten battery
mounting. Reinstall in same position. IMPORTANT: When servicing the
battery, be sure battery cables are disconnected before attempting removal of the battery from the
tractor. ALWAYS DISCONNECT GROUND CABLE FIRST. When installing the
battery, always check the polarity of the battery terminals to be sure the battery is not
reversed. The negative terminal (-) is ground. Apply alight coat of vasoline or oil to the inside of the clamp terminals and over the bolt
stud before connecting terminals. ALWAYS CONNECT THE GROUND TERMINAL LAST.
|
Figure 15
VOLTAGE REGULATOR - Keep terminal connections tight and clean. Consult your dealer :or servicing adjustments or
repairs.
STARTER SOLENOID - Keep terminal connections tight and clean.
PNEUMATIC TIRES - Keep both front and rear tires inflated (6 to 8 pounds recommended depending on vehicle
load). Under no circumstances should tire inflation be less than 6 pounds. Check air pressure regularly with a low pressure
gauge. Over or under inflation will result in premature tire failures.
ADJUSTMENTS
For adjustments not discussed in this manual consult your Bolens dealer.
TOE-IN ADJUSTMENT (See Figure 16.)
1. Place steering wheel in its mid-position.
2. Loosen hex nut on tie rod, and turn tie rod until 0 to 1 degree toe-in is
obtained.
3. Tighten hex nut securely.
|